Setting up Tailwind CSS In a Phoenix application
Elixir 1.14.2, Phoenix 1.6.2, Tailwind 3.2.4
Software Engineer with over a decade of experience in building monolithic to microservices with PHP, Java (Spring), JavaScript (Node, Vue), Erlang/Elixir (Phoenix), Search engineering (Solr, Elasticsearch), Cloud (AWS).
In the previous article, we explored setting up a basic Phoenix application. If you haven't read the first part yet, Just take a moment to read it before this post :-).
However, if you already have an existing phoenix application running, and if you would like to configure Tailwind with it, skip the first part.
Preamble
Install & Configure Tailwind Plugin
Let me be DRY, and not going to repeat what's been documented quite nicely by the Tailwind official website on how to set up Tailwind CSS in a Phoenix project. Steps are elegantly explained.
Re-run the application. At this point, It looks like
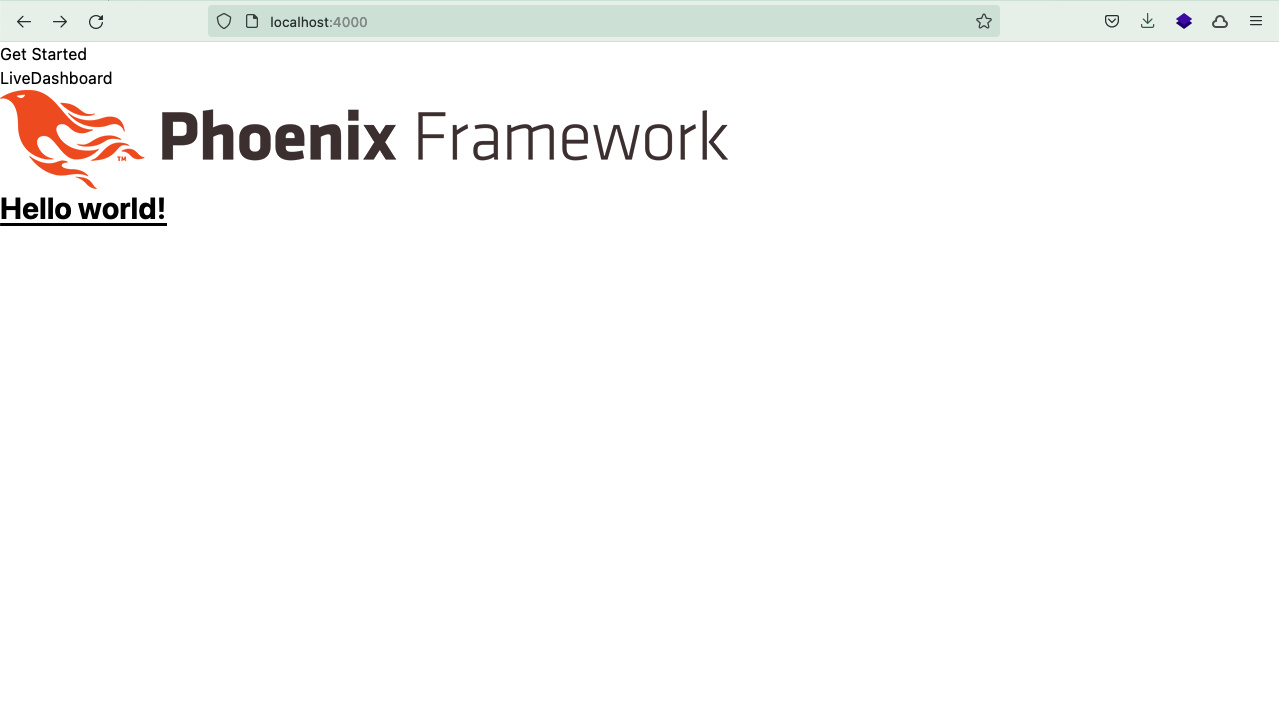
I know it looks ugly :-). That completes the first part of this article. In the following section, let's beautify the application to make it look nice.
Theme your application
Let's create a simple page which uses tailwind.
Look for lib/docker_phoenix_tailwind_web/templates/layout/root.html.heex file and replace it with
<!DOCTYPE html>
<html lang="en">
  <head>
    <meta charset="utf-8"/>
    <meta http-equiv="X-UA-Compatible" content="IE=edge"/>
    <meta name="viewport" content="width=device-width, initial-scale=1.0"/>
    <%= csrf_meta_tag() %>
    <%= live_title_tag assigns[:page_title] || "", suffix: " · Micheal Schumacher" %>
    <link phx-track-static rel="stylesheet" href={Routes.static_path(@conn, "/assets/app.css")}/>
    <script defer phx-track-static type="text/javascript" src={Routes.static_path(@conn, "/assets/app.js")}></script>
  </head>
  <body class="font-sans antialiased leading-normal tracking-wider text-gray-900 bg-cover">
    <%= @inner_content %>
  </body>
</html>
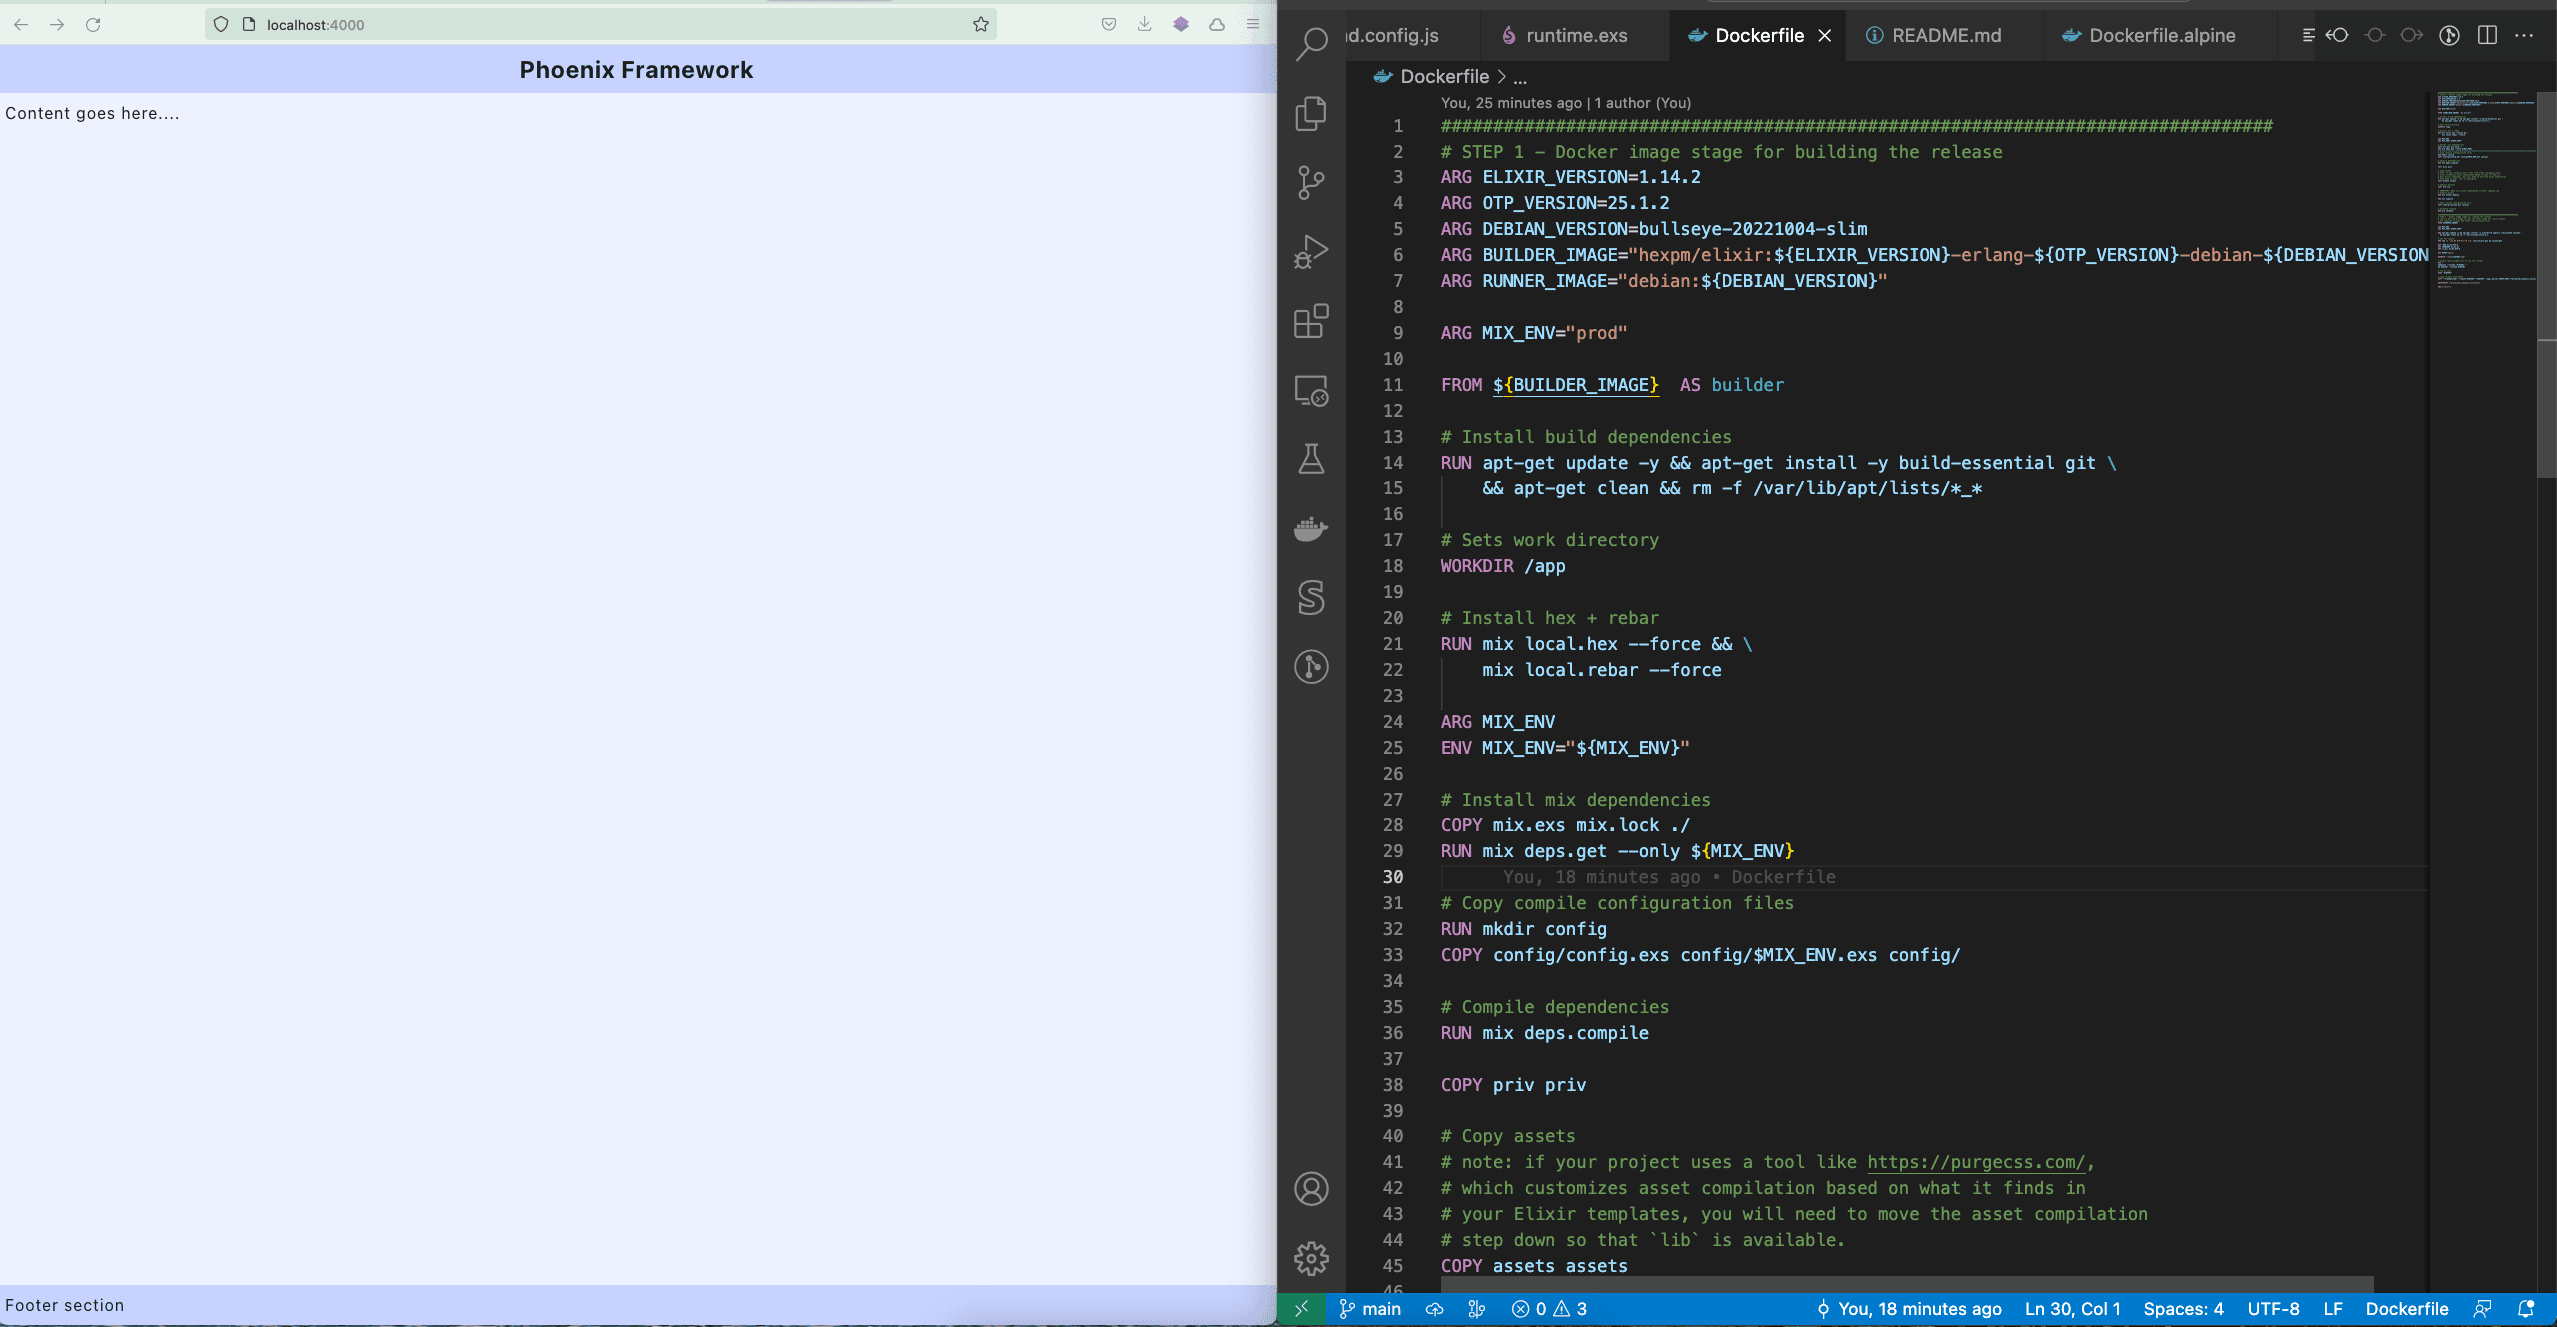
And look for our content page which is lib/docker_phoenix_tailwind_web/templates/page/index.html.heex and replace it with, which contains a simple layout
<div class="min-h-screen flex flex-col">
  <header class="p-2 bg-indigo-200">
    <p class="text-2xl font-bold text-center">Phoenix Framework</p>
  </header>
  <main class="flex-1 bg-indigo-50 p-2">
    <div class="mb-20">Content goes here....</div>
  </main>
  <footer class="p-2 bg-indigo-200">Footer section</footer>
</div>
This is how my assets/css/app.css looks like
@tailwind base;
@tailwind components;
@tailwind utilities;

body {
  background-color: crimson;
}
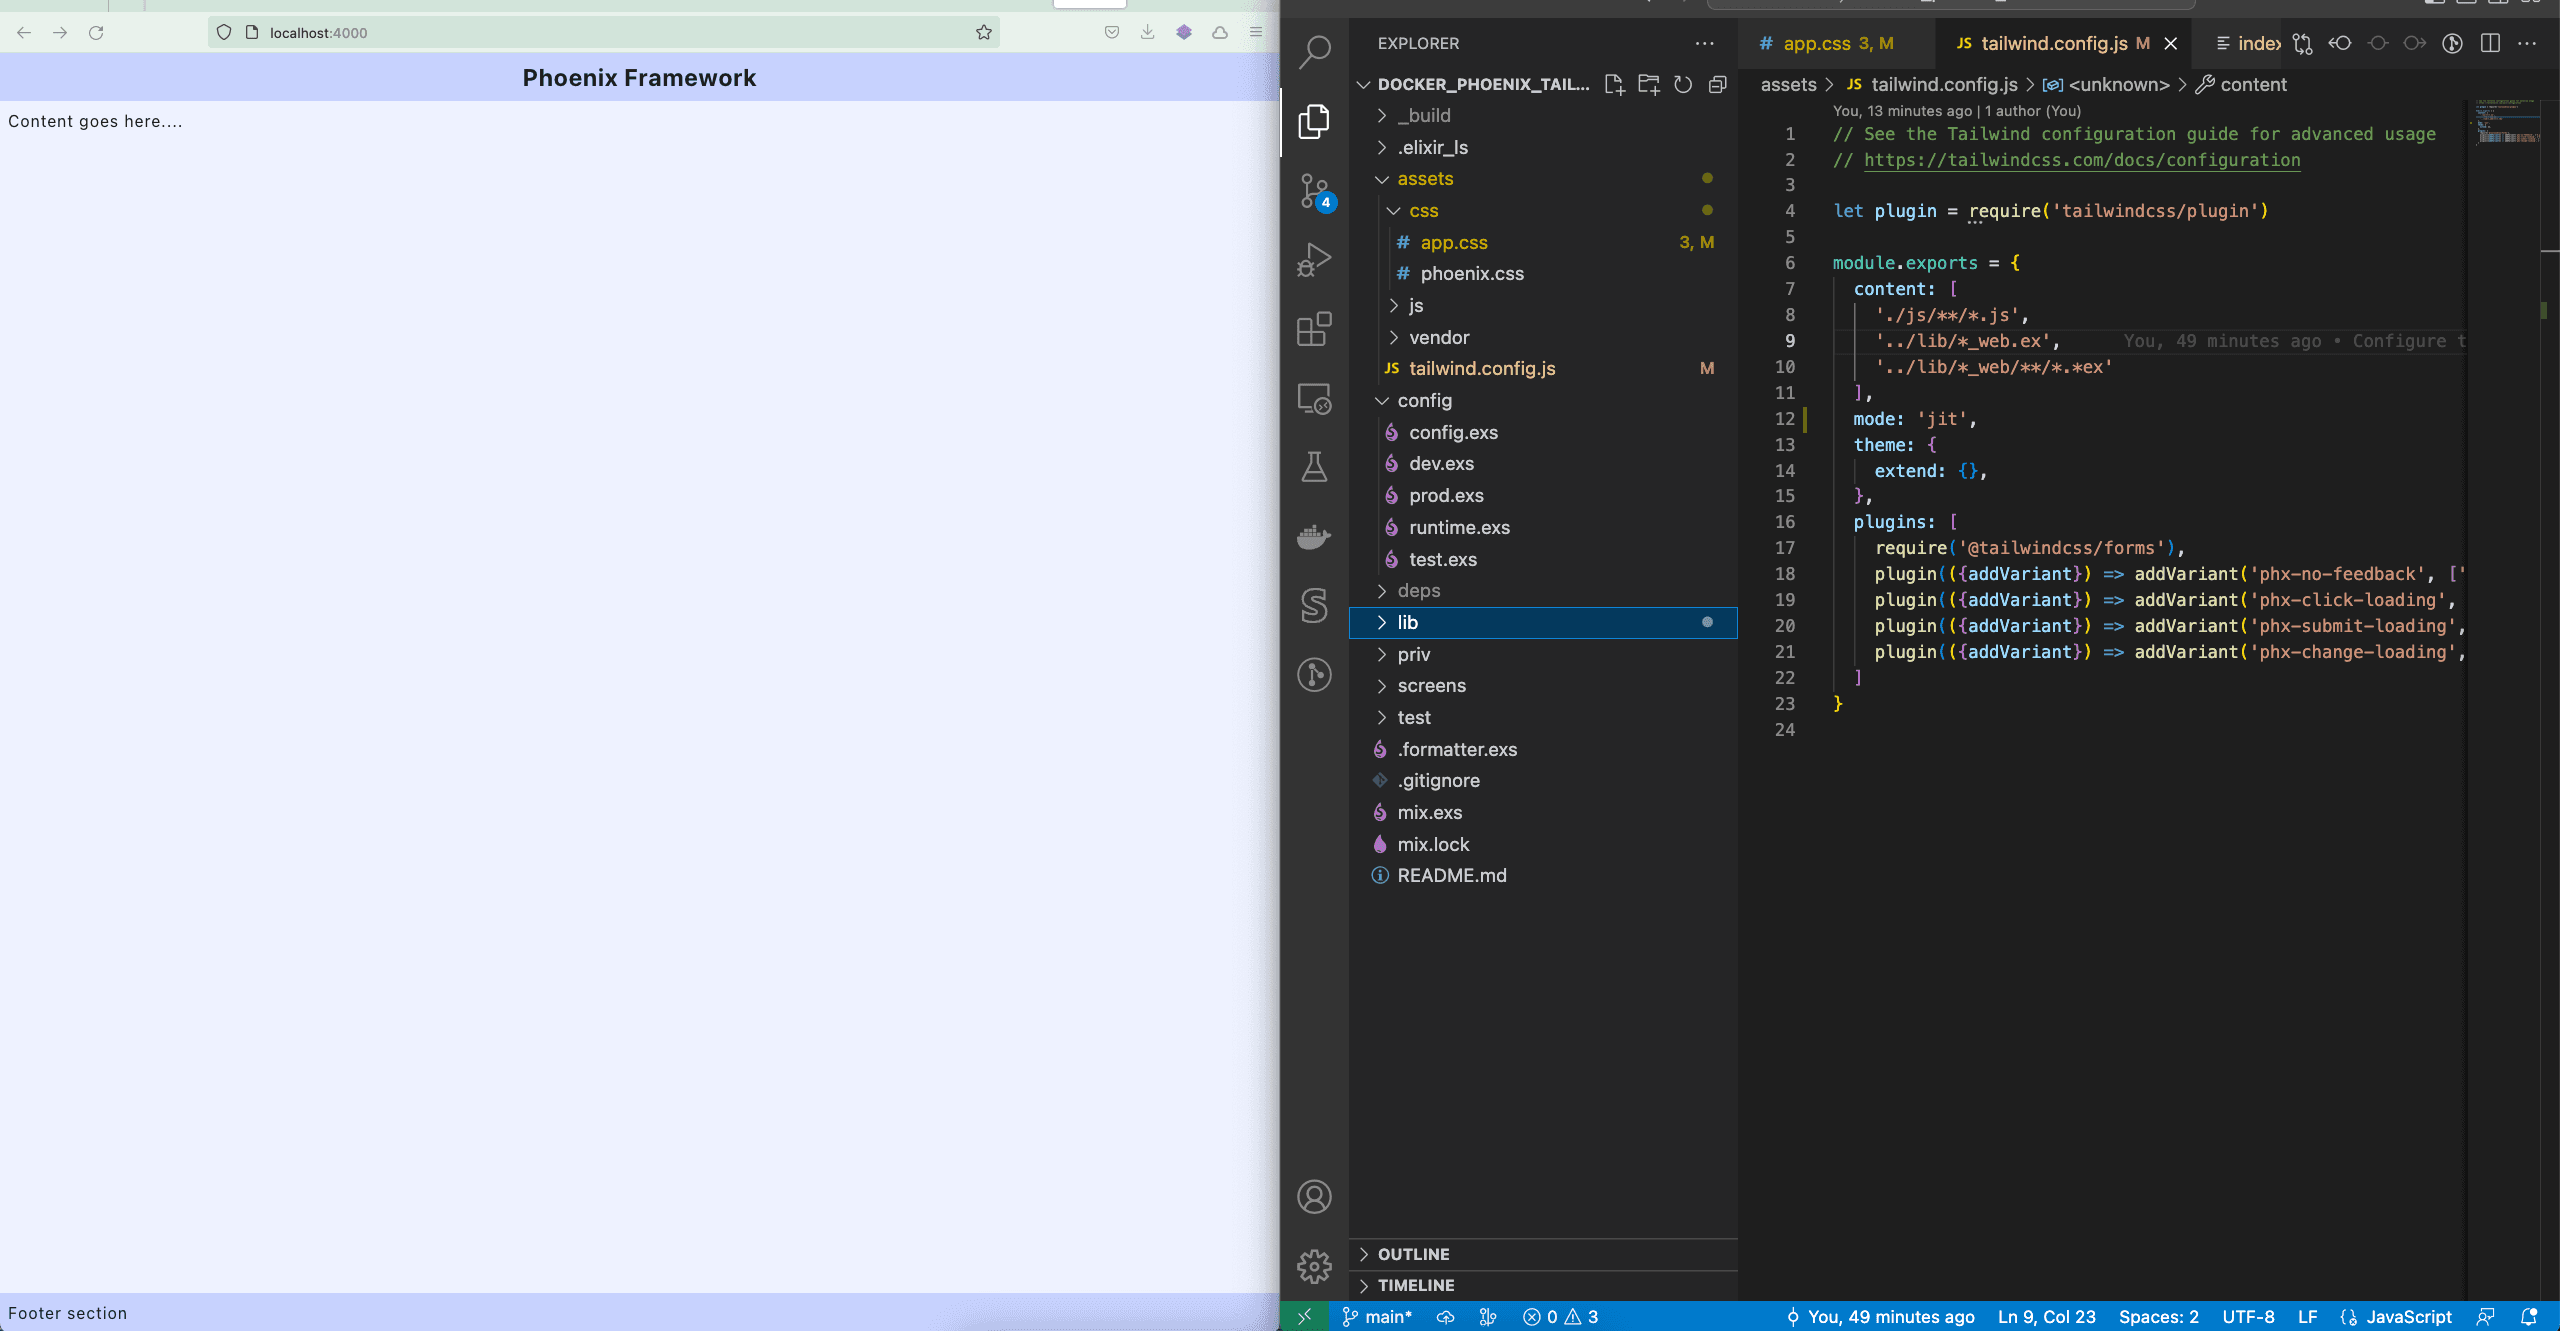
And my theme assets/tailwind.config.js
// See the Tailwind configuration guide for advanced usage
// https://tailwindcss.com/docs/configuration

let plugin = require('tailwindcss/plugin')

module.exports = {
  content: [
    './js/**/*.js',
    '../lib/*_web.ex',
    '../lib/*_web/**/*.*ex'
  ],
  mode: 'jit',
  theme: {
    extend: {},
  },
  plugins: [    require('@tailwindcss/forms'),    plugin(({addVariant}) => addVariant('phx-no-feedback', ['&.phx-no-feedback', '.phx-no-feedback &'])),
    plugin(({addVariant}) => addVariant('phx-click-loading', ['&.phx-click-loading', '.phx-click-loading &'])),
    plugin(({addVariant}) => addVariant('phx-submit-loading', ['&.phx-submit-loading', '.phx-submit-loading &'])),
    plugin(({addVariant}) => addVariant('phx-change-loading', ['&.phx-change-loading', '.phx-change-loading &']))
  ]
}
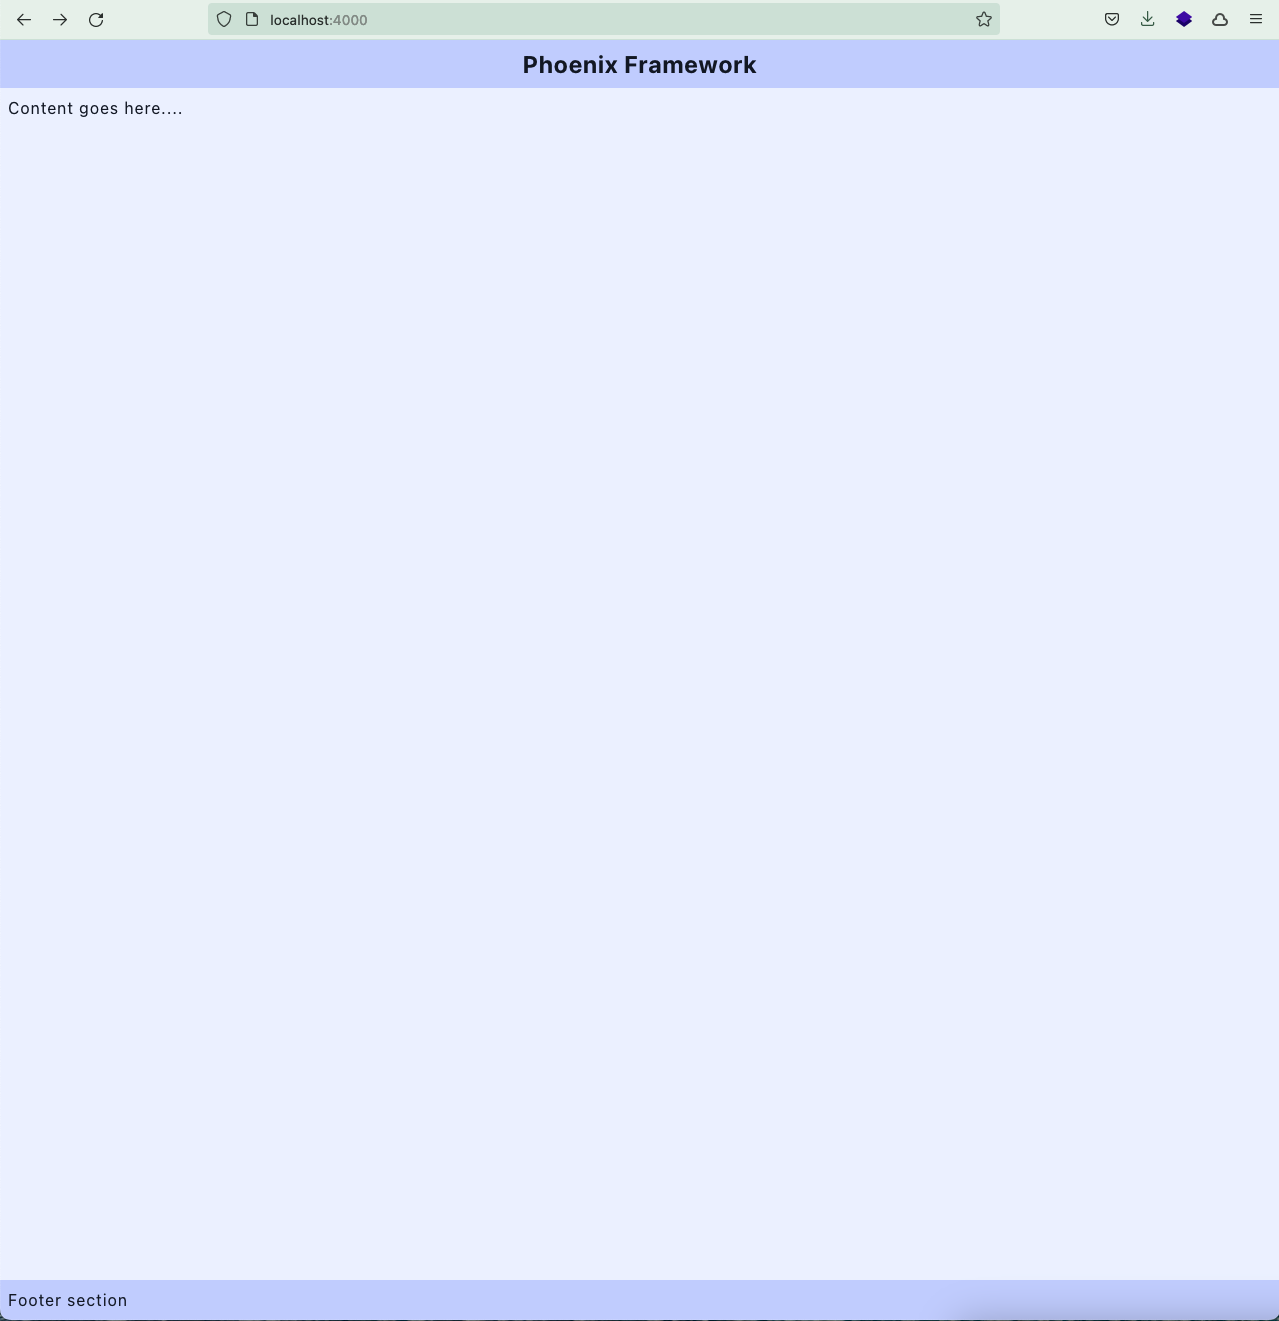
With that, Re-run the application and you will have a simple tailwind themed page.
Please leave a comment if you happen to face any issues configuring Tailwind.
In the next section, we will explore running the Phoenix application locally with a production release build, so that we could use the same instructions to build our Dockerfile.